- English
- Español
- Português
- русский
- Français
- 日本語
- Deutsch
- tiếng Việt
- Italiano
- Nederlands
- ภาษาไทย
- Polski
- 한국어
- Svenska
- magyar
- Malay
- বাংলা ভাষার
- Dansk
- Suomi
- हिन्दी
- Pilipino
- Türkçe
- Gaeilge
- العربية
- Indonesia
- Norsk
- تمل
- český
- ελληνικά
- український
- Javanese
- فارسی
- தமிழ்
- తెలుగు
- नेपाली
- Burmese
- български
- ລາວ
- Latine
- Қазақша
- Euskal
- Azərbaycan
- Slovenský jazyk
- Македонски
- Lietuvos
- Eesti Keel
- Română
- Slovenski
- मराठी
- Srpski језик

Mastering Game Console PCBA: A Complete Engineering Walkthrough
The PCBA (Printed Circuit Board Assembly) of a game console is its "heart" – it carries the processor, memory, display drivers, and all peripheral interfaces. Whether you're building a retro handheld or a modern portable gaming device, this guide walks you through the entire process.
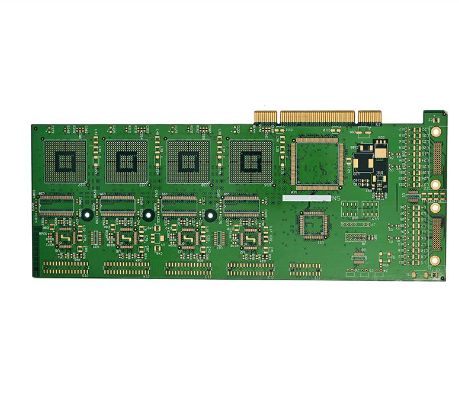
Planning First: Define Your Game Console
Investing time in planning before picking up a soldering iron will save you from many headaches down the road.
1. Define Your Goals and Core Specifications
Think clearly about what kind of game console you want to build:
-
Retro Style: Runs 8-bit or 16-bit emulated games, low performance requirement, great for beginners. A typical example is an Arduboy-compatible device using a 16MHz ATmega32u4 driving a 128×64 OLED screen.
-
Modern Style: Runs Linux, emulates PSP or higher-level systems. This requires a more powerful core – e.g., a Raspberry Pi 3B+ with a 7-inch IPS display, plus dedicated power management and expansion button boards.
2. Select the Core Components
Here's a typical bill of materials for a game console PCBA:
| Component Category | Options & Recommendations | Key Considerations |
|---|---|---|
| Main Processor | Arduino Pro Micro, Raspberry Pi PICO 2, Raspberry Pi 3B+ | Performance determines what games you can run, and affects power consumption and thermal design. |
| Display | 0.96"/1.3" OLED (SPI/I2C), 2.8" TFT LCD, 7" IPS HDMI screen | Resolution, interface type (parallel/SPI/HDMI), and power draw are critical specs. |
| Power Management | TP4056 charging module, IP5306 PMIC | Supports Li-ion battery charging, discharge protection, and fuel-gauge display. 18650 cells are common. |
| Control Buttons | Tactile switches, conductive rubber pads | Feel directly affects gameplay experience. Silent, tactile-feedback switches are available. |
| Storage | microSD card slot | Used for game ROMs and firmware – key to expanding your game library. |
Pro Tip: Always verify voltage and logic levels (3.3V vs. 5V) across all components to ensure they can communicate properly.
Circuit Design and Prototyping
Once planning is done, you move to the core of PCBA development – design and manufacturing.
1. Schematic and PCB Layout
Use an EDA tool (KiCad, Altium Designer, EAGLE) to complete the following:
-
Draw the schematic: Connect the processor, display, buttons, storage, and power management IC pins correctly.
-
PCB layout: Place the main processor close to the display connector to shorten high-speed signal paths. Make power and ground traces wider, and use a solid ground plane to reduce electromagnetic interference (EMI).
-
Run DRC: Run Design Rule Checks to ensure trace widths and clearances meet your fabricator's capabilities.
2. Prototyping and BOM Preparation
Export Gerber files and send them to a PCB fab for prototyping. Meanwhile, start sourcing components. Note that specialty ICs and connectors can have lead times of 12–24 weeks, so plan ahead.
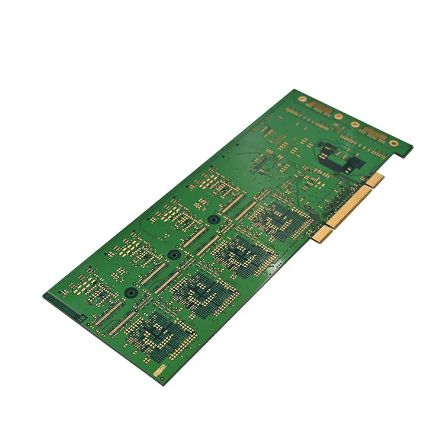
PCBA Assembly – Soldering and Mounting
Once you receive the bare PCB, it's time to solder and assemble. Choose the method that fits your skill level.
1. SMT Component Soldering (Surface-Mount)
For small SMD parts like resistors and capacitors, the professional process uses pick-and-place + reflow soldering. In a DIY scenario, you can:
-
Hand-solder: Use tweezers to position the part, heat the pad and pin with your iron tip, and feed in solder wire.
-
Reflow: Apply solder paste on pads, place components, and heat the PCB on a hotplate until the paste melts (~190°C).
2. THT Component Soldering (Through-Hole)
Buttons, battery holders, pin headers, and similar parts are inserted from the top side and soldered on the bottom side.
Soldering Tips:
-
Solder shorter components first (resistors, capacitors), then taller ones (headers, sockets).
-
Set iron temperature to ~300°C, and keep each joint heated for under 5 seconds to avoid damaging the part or pad.
-
Pay close attention to polarity for LEDs, electrolytic capacitors, and battery leads (red = positive, black = negative).
Firmware and Software
With hardware assembled, your console is just a "body" – it needs firmware to come alive.
-
Set up the development environment: Install Arduino IDE, Raspberry Pi OS, or equivalent toolchains for your chosen processor. For an Arduino Pro Micro-based project, install the Arduboy2 library.
-
Write/flash the firmware: The firmware handles hardware initialization, reads button inputs, drives the display, and runs game logic. Beginners should start with open-source projects (like Arduboy game libraries) to learn how to port games.
-
Load games: For consoles with microSD support, place game ROM files on the card; the firmware reads and executes them from there.
Testing and Verification
This is the quality-assurance step – never skip it.
-
Pre-power inspection: Use a multimeter to check for shorts between power and ground. Double-check polarity and orientation of all parts.
-
Power-on test: First, power up without the main IC inserted, verify that each power rail (e.g., 3.3V, 5V) outputs correctly. Then install the processor and test basic functionality.
-
Functional test: Test button inputs, display output, audio, and charging one by one. Use test code that loops through each function to verify every line works.
-
Gameplay test: Run a game continuously for 15–30 minutes. Monitor screen stability, button responsiveness, and overall temperature rise.
Advanced Tips and Common Pitfalls
-
Thermal design: High-performance cores (e.g., Raspberry Pi) generate significant heat – account for heatsinks or ventilation holes in both PCB layout and enclosure design.
-
EMI (Electromagnetic Interference): For high-speed digital signals, use differential pairs and surround them with ground traces to reduce noise.
-
DFM (Design for Manufacturability): If you plan small-batch production, consult your PCBA fab early in the design phase to ensure your layout matches their manufacturing capabilities.
Send Inquiry
-
Delivery Service



-
Payment Options